Published: September 2026
The most expensive room in your house is the one nobody decorates. Not the kitchen, with its wall of appliances. Not the living room, where the screens live. It’s the utility closet — or that corner of the basement — where the furnace and the water heater sit in the dark, quietly responsible for more than half of the energy your home uses. A DIY home energy audit starts there, and that is the whole difference between this walk and the checklists you’ve seen before.
Most energy-saving advice starts in the wrong rooms. Unplug your chargers, turn off the lights — fine, but those are pennies, and the dollars are somewhere you haven’t looked. This guide is a walk through your own house in four stops, ranked by how much of your home’s energy each one controls. Along the way we’ll tell you what not to bother with, because an audit that treats every tip as equal wastes the one thing you’re actually spending: a Saturday morning.
Key Takeaways
- Space heating, water heating, and air conditioning account for roughly 70% of a U.S. home’s energy use (Energy Information Administration). Start there, not with the gadgets.
- Always-on devices are a real cost — one large study put idle load near a quarter of household electricity — but the culprits are second fridges, set-top boxes, and network gear, not phone chargers.
- Air sealing plus insulation can save an average of 15% on heating and cooling costs (Environmental Protection Agency estimate), and the leaks that matter most are the ones you can’t feel.
- Several famous tips barely move a bill. We name them, so you can skip them without guilt.
In short: walk your home in four stops — utility area, hidden air leaks, always-on electronics, then kitchen and laundry — and fix what you find in that order, because that’s the order the money runs in.
| The walk | Where | Why this order |
|---|---|---|
| Stop 1 | Water heater and heating equipment | About 60% of home energy lives here |
| Stop 2 | Attic hatch, ceiling holes, rim joist | The hidden leaks feeding Stop 1 |
| Stop 3 | Living room, office, garage | The always-on baseline |
| Stop 4 | Kitchen and laundry | Working appliances, modest stakes |
Before You Walk: Where Home Energy Actually Goes
The Energy Information Administration’s 2020 Residential Energy Consumption Survey, its most recent, shows where U.S. home energy actually goes:
| End use (2020) | Share of home energy use |
|---|---|
| Space heating | 42% |
| Space heating and air conditioning together | 52% |
| Water heating, lighting and refrigeration together | 25% |
Shares computed from EIA Residential Energy Consumption Survey 2020, Table CE3.1.
~70% — the share of a typical U.S. home’s energy use that goes to just three things: space heating, water heating, and air conditioning.
One caveat before you trust that table: those are shares of energy used, not shares of your bill. Electricity costs more per unit of heat than natural gas, so a gas-heated home’s dollars split differently than its energy does. Treat the percentages as a map of where the energy goes, not as a picture of your invoice.
Stop 1: The Utility Closet
Wherever your furnace and water heater live — closet, basement, garage bay — that’s the highest-value stop of the audit: roughly 60% of home energy use between space heating and hot water.
1. Read the water heater’s temperature setting.
The Department of Energy’s home energy checklist recommends 120°F. Many tanks leave the factory set higher, and every degree above what you need is heat the tank makes, loses through its walls, and makes again, around the clock. On a gas heater the dial is near the bottom of the tank; electric models hide thermostats behind two small panels (cut power at the breaker first). Turning it down is a permanent saving that costs nothing — and it lowers scald risk at the tap, which matters in a house with kids.
2. Put your hand on the tank, then on the first stretch of hot pipe.
Warm to the touch means heat escaping into a room you’re not trying to heat. The fix is the least glamorous purchase in home improvement: an insulating jacket for the tank and foam sleeves for the first few feet of hot-water pipe. The Department of Energy’s checklist says a water heater blanket can pay for itself within a year — after that it just quietly keeps paying you. And while you’re thinking about hot water: a dripping hot tap anywhere in the house is this tank running for nothing — fix hot-side drips first.
3. Follow the ducts you can see.
If your home has forced air, look along the runs in the basement, garage, or attic for joints that have separated, tape that has let go, and ducts passing through spaces you don’t heat. ENERGY STAR counts duct sealing among the larger efficiency fixes in a house, because leaks here pour air you paid to heat into a crawlspace. Note what you find; sealing reachable joints with mastic or foil tape is often a manageable DIY job, though ducts in tight or unreachable spaces are not.
4. The heating equipment itself gets its own guide.
What to do about the furnace, boiler, or heat pump depends entirely on which one you have — a tip that saves money on one system spends it on another. We’ve covered that system by system in our guide to lowering your heating bill, including the filter, the service visit, and when a thermostat setback helps or hurts. For the audit, note what you have and move on.
Stop 2: The Leaks You Can’t Feel
Drafts you can feel — the cold stream under a door in January — announce themselves, and weatherstripping handles them. The expensive leaks are quieter: warm air rises and slips out through holes at the top of the house you never see, pulling outdoor air in through gaps at the bottom. The Department of Energy’s checklist names the exact places — cut-throughs for pipes, gaps around chimneys, and recessed lights.
5. Open the attic hatch — then look at the hatch itself.
The ceiling above your hallway may be insulated to modern standards while the hatch in the middle of it is a bare board with no weatherstripping: a hole in the insulation you walk under every day. If the back of the hatch is uninsulated and the frame has no seal, you’ve found one of the cheapest fixes of the whole audit.
6. Check under sinks and around recessed lights.
Under every sink on an exterior wall, a pipe passes through the cabinet — often through a hole cut far larger than the pipe. Each one connects your living-room air to the outside, and a can of caulk closes the simple ones. Older recessed ceiling lights below an attic leak the same way pointing up, but leave those on the list rather than the to-do: recessed fixtures have clearance and fire-rating requirements, and sealing or insulating around the wrong type is a question for an electrician or insulation contractor.
7. In the basement, look where the house meets the foundation.
The rim joist — the wooden band where the frame sits on the foundation — is one of the leakiest, least insulated places in older homes, and almost nobody checks it because there’s nothing there to look at. Bare wood along that band is real money.
8. What sealing actually returns in a DIY home energy audit.
The Environmental Protection Agency estimates homeowners can save an average of 15% on heating and cooling costs — about 11% of total energy costs — by air sealing and adding insulation. That’s an average — a leaky older house can see more, a tight new build less — but it’s the largest savings estimate in this audit, which is why this stop comes before the gadgets.
One boundary before you go further: this is a walk to find and note things, not to open equipment. Inspecting, touching a tank, reading a dial and sealing an obvious gap are homeowner jobs. Opening a furnace, rewiring a fixture, or working inside anything you aren’t qualified to service is not.
Stop 3: The Always-On Baseline
9. Your home draws power while everyone sleeps — more than you’d guess.
A Natural Resources Defense Council study, built with Stanford researchers on smart-meter data from tens of thousands of northern California homes, found that “idle load” — everything drawing power while doing nothing for you — averaged nearly 23% of household electricity use in those homes. Separately, the same report estimated that always-on devices cost the average American household about $165 a year at the national electricity rate it used. The study is a decade old and its measurements were regional, so treat it as a signal rather than your bill — but a loud one.
10. Find your big idlers — they’re plugged in behind furniture.
The idle load isn’t a thousand tiny sips; it’s a few steady drinkers. A second refrigerator in the garage runs all year to chill whatever’s in it — the audit question isn’t “is it efficient” but “does what’s in it justify an appliance that never turns off.” Set-top boxes and DVRs stay awake to record; game consoles in instant-on mode idle warm; the router-modem-smart-speaker cluster runs around the clock by design. Count what’s silently on, then decide, item by item, which ones earn it.
11. What not to bother with: the charger crusade.
Berkeley Lab, which has measured standby power for decades, puts typical products near half a watt on standby. Take that half-watt as a generous ceiling for a charger sitting in the wall with nothing attached: left there all year it works out to about 4 kilowatt-hours — roughly 75 cents at the June 2026 U.S. average residential rate of 18.34 cents per kilowatt-hour. Unplugging chargers is the most famous energy tip in America and among the least valuable. Skip it without guilt — and if your bulbs are already LED, that battle is won too. Spend the attention on the garage fridge.
Stop 4: Kitchen and Laundry
Refrigeration is about 4% of home energy and the rest of the kitchen sits in the “everything else” slice — worth checking, just not first.
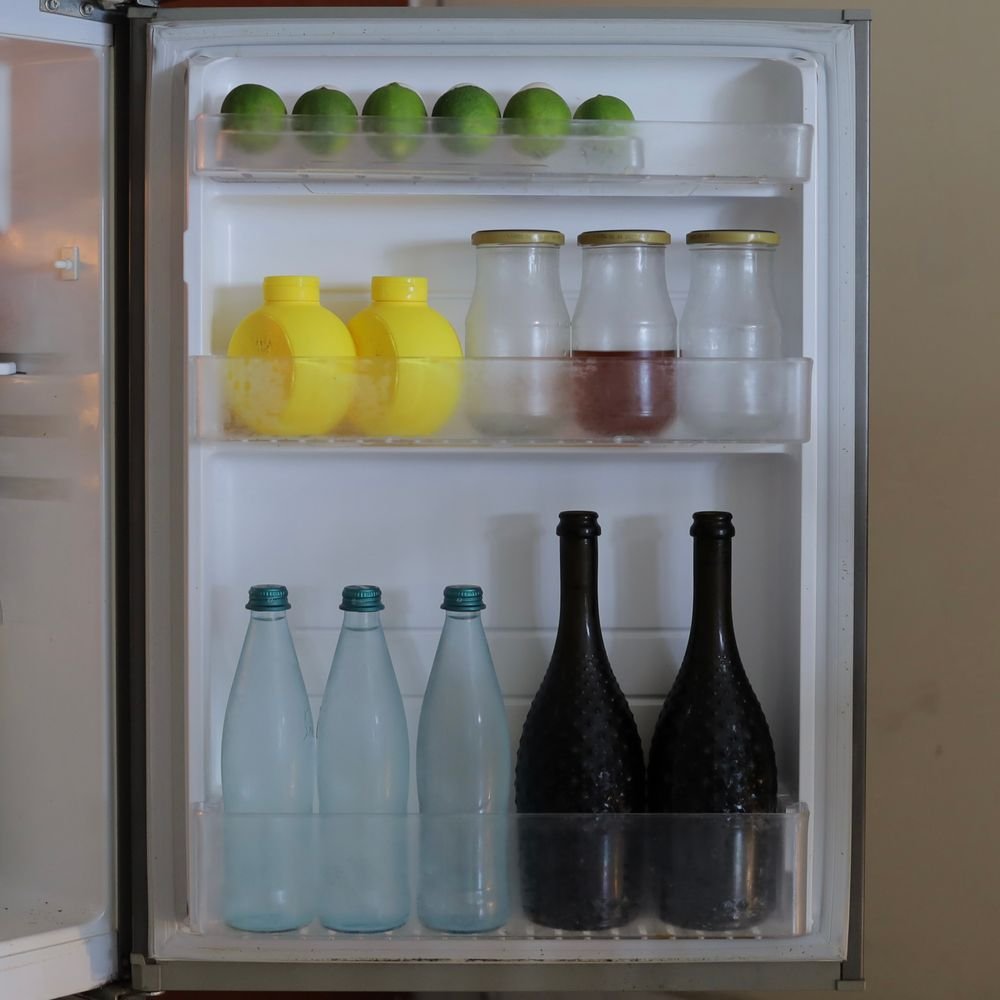
12. Give the refrigerator two minutes: seal and coils.
Close the door on a strip of paper; if it slides out with no resistance, the gasket isn’t sealing and the compressor is working to compensate. Once a year, pull the fridge out and vacuum the coils — dust makes it work harder against its own trapped heat. Neither fix transforms a bill; both keep a 24-hour appliance from quietly running worse each year.
13. Clean the dryer’s vent run, not just the lint screen.
The screen catches some lint; the rest packs slowly into the duct behind the machine. A clogged run means longer drying times — paying twice for the same dry clothes — and lint in a hot duct is a fire risk, reason enough on its own. If drying takes longer than it used to, this is one of the first things to check.
14. Turn off heated dry.
The dishwasher’s heat-dry cycle runs a heating element to do what an opened door does free. Switch it off, run full loads, and you’ve taken the easy savings a dishwasher offers.
What to Do With What You Found
Work down the money: seal and insulate what you found at Stop 2, set the water heater to 120°F and jacket it, retire the always-on equipment that didn’t earn its socket, then let the appliance habits ride along. Heating-system findings route to our guide to lowering your heating bill; the cooling-season half — thermostat strategy, fans, window heat — is in our summer utility bills guide.
Then do the step most audits skip: put a number on what you expect to save and give it a job in your family budget. A saving nobody measures has a way of evaporating into the grocery run.
More Worth Knowing
Ask your utility before you buy anything. Utilities and state energy offices often run home energy assessment programs, sometimes free and sometimes with equipment you can’t rent cheaply — worth one phone call, the same one where you can ask about lower rates.
Rebates are local. Utility and state programs for insulation, air sealing, and efficient equipment change often; your utility’s website is the fastest place to check before any bigger fix.
Frequently Asked Questions
How long does a DIY home energy audit take?
The walk is an hour or two. The cheapest fixes it produces — caulk, weatherstripping, the water heater dial, foam pipe sleeves — fit in a weekend morning.
What wastes the most energy in a home?
Space heating, and it isn’t close: 42% of U.S. home energy use in 2020, according to the Energy Information Administration, with water heating, lighting and refrigeration together taking another quarter. That’s why this audit starts at the equipment, not the light switches.
Is a professional energy audit worth the money?
After the DIY round, sometimes. A pro brings a blower door — a fan that depressurizes the house and makes every leak findable at once — and often an infrared camera. If a room won’t hold temperature or bills stay high with no visible cause, that’s the signal; check whether your utility offers one free first.
Do smart plugs actually save money?
Only when they switch off something with a real idle draw — an entertainment cluster, a rarely used printer setup. A smart plug can never save more than the device was drawing in the first place, so on a charger that’s pennies a year — and the plug itself stays powered to listen for you. Match the tool to the size of the waste.
The Bottom Line
A DIY home energy audit isn’t a scavenger hunt for every possible tip — it’s a ranking exercise. Three end uses hold about 70% of the energy; a handful of hidden leaks feed the biggest one; a few always-on machines bill you quietly year-round; and a long tail of famous advice guards pennies. Your house has been telling you where the waste is all along — just not in the rooms the checklists kept sending you to.
Which stop surprised you most — and what did you find there?
Want more tips like these delivered to your inbox? Sign up below — you’ll also get our free grocery budget worksheet, and we only send stuff that’s actually useful.